Additional LiveNX Setup
Here are some optional setup steps in LiveNX to customize deployment:
• Create sites that correspond to different regions that the VPC routers belong to.
• Move the VPC routers into those sites, then site-based reporting and analysis will work.

• Make sure the WAN tag on the interfaces are setup properly on IGW.
• Make sure additional tags on the interfaces and VPC router are setup, they should have been automatically imported via csv or API.
• IP addresses and DNS:
• The IP addresses shown are all internal IP addresses, so even if an EC2 may have an external IP, the flow log will show only the internal IP address.
• Enable DNS in LiveNX and setting to show DNS names.
• This will try to resolve IP addresses to DNS names. This is not incredibly useful since it does not resolve external IP addresses, and the internal DNS names are basically a little more descriptive IP addresses with AZ and some type information.

• Creating a subnet cloud for IGW:
• As of LiveNX 9.0, we do not create a subnet cloud for the IGW interface, but a customer can manually add one by editing interfaces for the device.
• Since the device is non-SNMP it is basically editing a table.
• Since IGW is just a gateway, it really does not have a subnet, but for viewing purposes in topology view it makes it a bit easier at times to see the flows exiting.
• Below is an example of assigning a place holder IP 1.1.1.1/32.

• Refreshing VPC information:
• AWS networking environment is very dynamic and can change often.
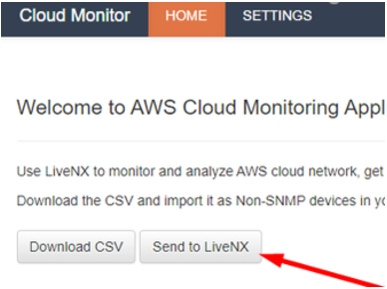
• Currently, to refresh the information is going through the same initial import and or “Send to LiveNX” process.
• Be cautious since this process may overwrite any customer entered tags, interfaces, and new CIDR info.

• Adding new region:
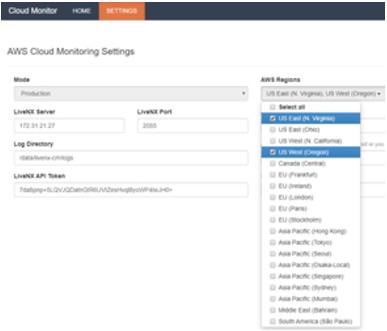
• If adding new region after setup, need to go back to settings to include the region to poll
